はじめに
Armadillo-640でもDebian GNU/Linux 10 (Buster)のユーザランドが使用可能となりました。
この記事では、Debian GNU/Linux 10 (Buster)を使用しているArmadillo-640上にNode-REDをインストールする手順をご案内します。
失敗
さっそく、下記の記事を参考にインストールを試みたところ、Node.jsのインストールで失敗してしまいました。
Node-REDをArmadillo-IoT G3で動かしてみた
2021/3/14時点で最新の安定版は14.xであったため、以下コマンドを実行したところ、
何のレスポンスも無くすぐに終了してしまいました。
curl -sL https://deb.nodesource.com/setup_14.x | bash -
念のためオプションから「-s」を外して進捗表示を有効にしたところ、
下記のようにエラーが表示されてしまいました。
root@armadillo:~# curl -L https://deb.nodesource.com/setup_10.x | bash -
  % Total    % Received % Xferd  Average Speed   Time    Time     Time  Current
                                 Dload  Upload   Total   Spent    Left  Speed
  0     0    0     0    0     0      0      0 --:--:-- --:--:-- --:--:--     0
curl: (60) SSL certificate problem: unable to get local issuer certificate
More details here: https://curl.haxx.se/docs/sslcerts.html

curl failed to verify the legitimacy of the server and therefore could not
establish a secure connection to it. To learn more about this situation and
how to fix it, please visit the web page mentioned above.
これは証明書の検証エラーです。
対策の検討
証明書の検証エラーへの対処方法はいくつかありますが、
この記事ではcurlコマンドにたいしてオプション「-k」を付加して実行することとしました。
ただし、単に上記コマンドに「-k」を追加するだけでは失敗してしまいます。
root@armadillo:~# curl -kL https://deb.nodesource.com/setup_14.x | bash -
  % Total    % Received % Xferd  Average Speed   Time    Time     Time  Current
                                 Dload  Upload   Total   Spent    Left  Speed
100 13479  100 13479    0     0  36627      0 --:--:-- --:--:-- --:--:-- 36528

## Installing the NodeSource Node.js 14.x repo...


## Populating apt-get cache...

+ apt-get update
Ign:1 http://download.atmark-techno.com/debian buster InRelease
Ign:2 http://download.atmark-techno.com/debian buster-backports InRelease
Hit:3 http://ftp.jp.debian.org/debian buster InRelease
Hit:4 http://download.atmark-techno.com/debian buster Release
Hit:5 http://download.atmark-techno.com/debian buster-backports Release
Get:6 http://security.debian.org buster/updates InRelease [65.4 kB]
Fetched 65.4 kB in 7s (9636 B/s)
Reading package lists... Done

## Confirming "buster" is supported...

+ curl -sLf -o /dev/null 'https://deb.nodesource.com/node_14.x/dists/buster/Release'

## Your distribution, identified as "buster", is not currently supported, please contact NodeSource at https://github.com/nodesource/distributions/issues if you think this is incorrect or would like your distribution to be considered for support
上記コマンドは、https://deb.nodesource.com/setup_14.xからファイルを取得してbashとして実行するというものですが、
「https://deb.nodesource.com/setup_14.x」の中にも複数curlコマンドの実行が含まれており、
ここで同じように証明書の検証エラーが発生してしまいます。
そこでこの記事では、以下のような手順でインストールを実施しました。
手順
パッケージの更新
インストールされているパッケージを最新の状態に更新しておきます。
root@armadillo:~# apt update
root@armadillo:~# apt -y upgrade
curlのインストール
Armadillo-640をインストールディスクで初期化した状態では「curl」がインストールされていません
以下のコマンドを実行して「curl」をインストールします。
root@armadillo:~# apt -y install curl
ファイルのダウンロード
Node.jsをインストールするためのファイルを一旦ダウンロードします。
#この記事を作成した2021/3/14時点での最新の安定版である14.xをインストールする前提で記載しています。
ダウンロードしたファイルをテキストエディタで編集し、
「curl」コマンド実行箇所全てで「-k」オプションを利用するよう変更します。
ダウンロード
root@armadillo:~# wget https://deb.nodesource.com/setup_14.x
編集
root@armadillo:~# vi setup_14.x
実行権限付与
root@armadillo:~# chmod +x setup_14.x
ファイル実行
ダウンロード・編集したファイルを実行します。
root@armadillo:~# ./setup_14.x

## Installing the NodeSource Node.js 14.x repo...


## Populating apt-get cache...

+ apt-get update
Ign:1 http://download.atmark-techno.com/debian buster InRelease
Hit:2 http://ftp.jp.debian.org/debian buster InRelease
Ign:3 http://download.atmark-techno.com/debian buster-backports InRelease
Hit:4 http://download.atmark-techno.com/debian buster Release
Hit:5 http://download.atmark-techno.com/debian buster-backports Release
Hit:6 http://security.debian.org buster/updates InRelease
Reading package lists... Done

## Confirming "buster" is supported...

+ curl -sLk -o /dev/null 'https://deb.nodesource.com/node_14.x/dists/buster/Release'

## Adding the NodeSource signing key to your keyring...

+ curl -ks https://deb.nodesource.com/gpgkey/nodesource.gpg.key | apt-key add -
OK

## Creating apt sources list file for the NodeSource Node.js 14.x repo...

+ echo 'deb https://deb.nodesource.com/node_14.x buster main' > /etc/apt/sources.list.d/nodesource.list
+ echo 'deb-src https://deb.nodesource.com/node_14.x buster main' >> /etc/apt/sources.list.d/nodesource.list

## Running `apt-get update` for you...

+ apt-get update
Hit:1 http://ftp.jp.debian.org/debian buster InRelease
Ign:2 http://download.atmark-techno.com/debian buster InRelease
Ign:3 http://download.atmark-techno.com/debian buster-backports InRelease
Hit:4 http://download.atmark-techno.com/debian buster Release
Hit:5 http://security.debian.org buster/updates InRelease
Hit:6 http://download.atmark-techno.com/debian buster-backports Release
Get:7 https://deb.nodesource.com/node_14.x buster InRelease [4584 B]
Get:10 https://deb.nodesource.com/node_14.x buster/main armhf Packages [778 B]
Fetched 5362 B in 7s (735 B/s)
Reading package lists... Done

## Run `sudo apt-get install -y nodejs` to install Node.js 14.x and npm
## You may also need development tools to build native addons:
     sudo apt-get install gcc g++ make
## To install the Yarn package manager, run:
     curl -ksL https://dl.yarnpkg.com/debian/pubkey.gpg | sudo apt-key add -
     echo "deb https://dl.yarnpkg.com/debian/ stable main" | sudo tee /etc/apt/sources.list.d/yarn.list
     sudo apt-get update && sudo apt-get install yarn
Node.jsのインストール
ここまででようやくnodejsとnpmのインストールの準備が整ったのでインストールを実行します。
インストール完了後バージョンを確認し、指定したバージョンがインストールされていることを確認しておいてください。
root@armadillo:~# apt-get install -y nodejs
root@armadillo:~# node --version
v14.16.0
ここまでの手順を飛ばしていきなりインストールを行うと、
Node.jsの10.24がインストールされ、かつnpmがインストールされていない状態となります。
「apt-get install」コマンドでnpmを追加インストール出来ますが、
Node-REDが正常にインストールされないのでご注意ください。
Node-REDのインストール
npm(Node Package Manager)を利用してNode-REDをグローバルモジュールとしてインストールします。以下のコマンドを実行して、Node-REDのインストールとシステムパスを設定します。 ``` root@armadillo:~# npm install -g --unsafe-perm node-red ```
動作確認
以上の手順でNode-REDのインストールが完了したので、正常に動作するかを確認します。
以下のコマンドでNode-REDを起動します。
root@armadillo:~# node-red
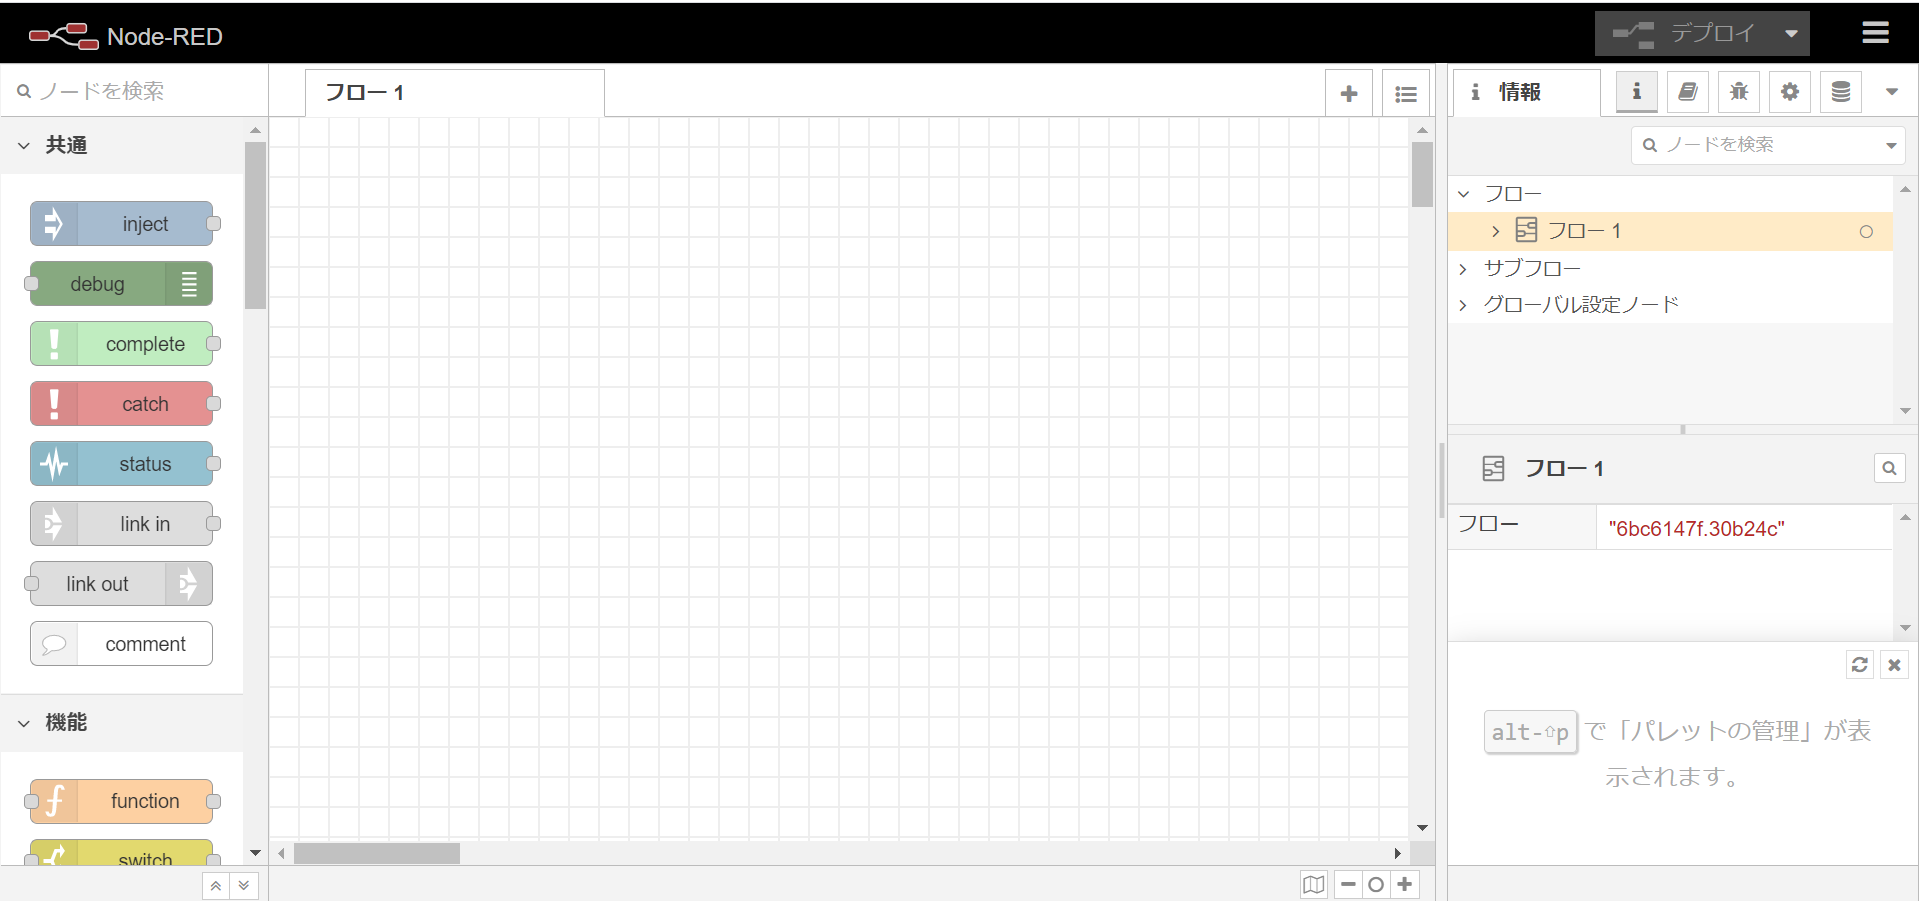
起動メッセージを確認したら、Armadillo-640と同一のネットワークに接続したPCのブラウザから、
http://[Armadillo-640のIPアドレス]:1880/ へアクセスします。
以下のような画面が表示されていれば、起動成功です。
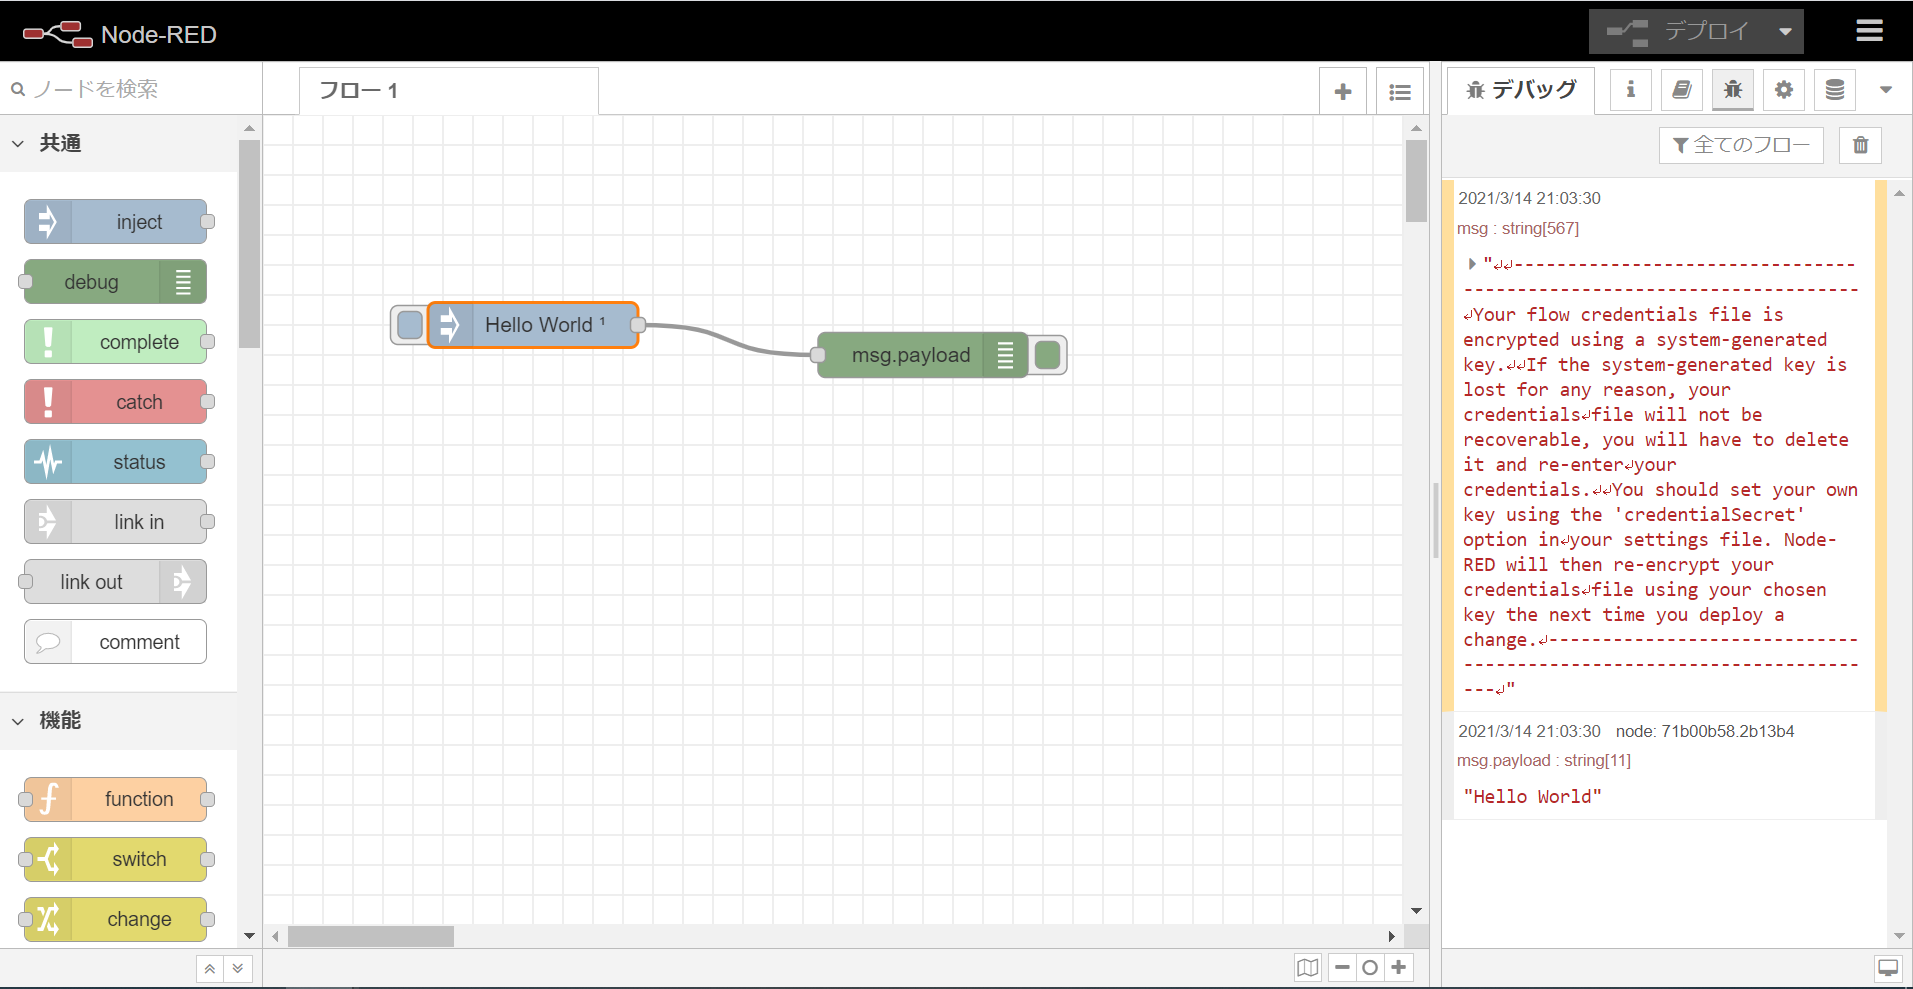
 正常に動作していることを確認するため、下記記事を参考にHello Worldの表示を行います。
Node-REDをArmadillo-IoT G3で動かしてみた
以下のように表示され、正常に動作していることを確認する事が出来ました。