アットマークテクノは、Armadilloのソフトウェア開発や動作確認を簡単に行うために、VMware仮想マシンのデータイメージを提供しています。 このVMware仮想マシンのデータイメージを、ATDE(Atmark Techno Development Environment)と呼びます。 基本的にATDEの起動には、仮想化ソフトウェアであるVMwareを使用します。 仮想化ソフトウェアとしてVMwareの他にOracle VM VirtualBoxが有名ですが、Windows 10のBuild 16215以降からは、Linuxのバイナリ実行ファイルを動作させるためのWindows Subsystem for LinuxがWindowsの正式機能となりました。 ここでは、Windows Subsystem for Linux上に、簡易的なArmadilloの開発環境を構築するための手順を紹介します。
- 本ブログで紹介する開発環境は、あくまでも参考情報です。Armadilloでの使用に際しては、以下の点にご注意ください。
- 製品化用のプラットフォームとして推奨するものではありません。
- 本ブログで紹介している環境は、Debian GNU/Linux 12 (Bookworm)かつLinux-6.1を搭載しているArmadilloにのみ有効です。
- 上記以外のバージョンを搭載しているArmadillo(Debian GNU/Linux 9 (Stretch)やLinux-4.9等)には対応していません。
- 今後リリースされる予定のDebian "trixie"での動作は現時点で不明です。
1. Windows Subsystem for Linuxのインストール
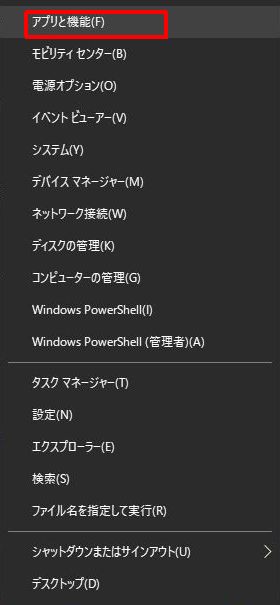
Windowスタートメニューを右クリックして「アプリと機能」を選択して下さい。
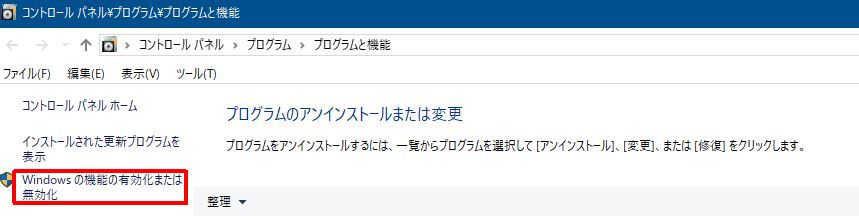
「アプリと機能」の画面が開きますので、「プログラムと機能」を選択して下さい。

「プログラムと機能」の画面内で、「Windowsの機能の有効化または無効化」を選択して下さい。
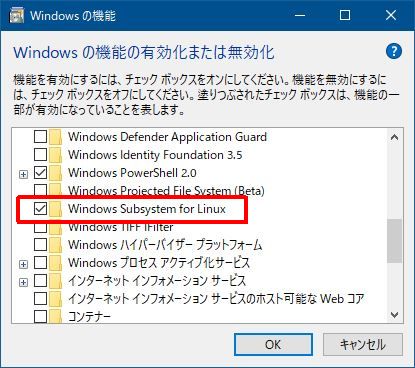
「Windowsの機能」の画面が開いたら、「Windows Subsystem for Linux」の箇所をチェックして、OKボタンを押して下さい。
「今すぐ再起動」のメッセージが出力されますので、Windowsを再起動して下さい。
2. Debian GNU/Linuxのインストール
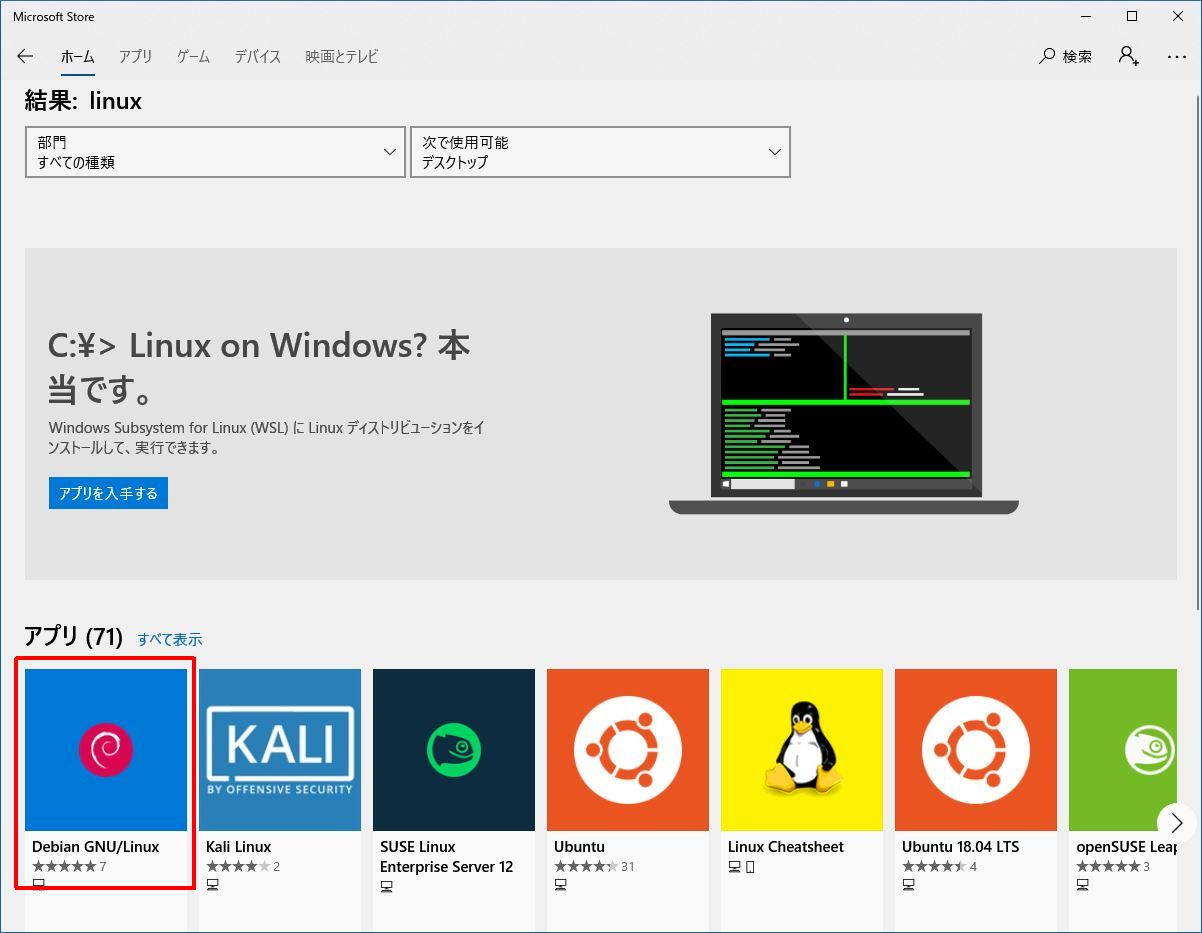
Microsoft Storeを起動して、検索窓で「Linux」を検索して下さい。
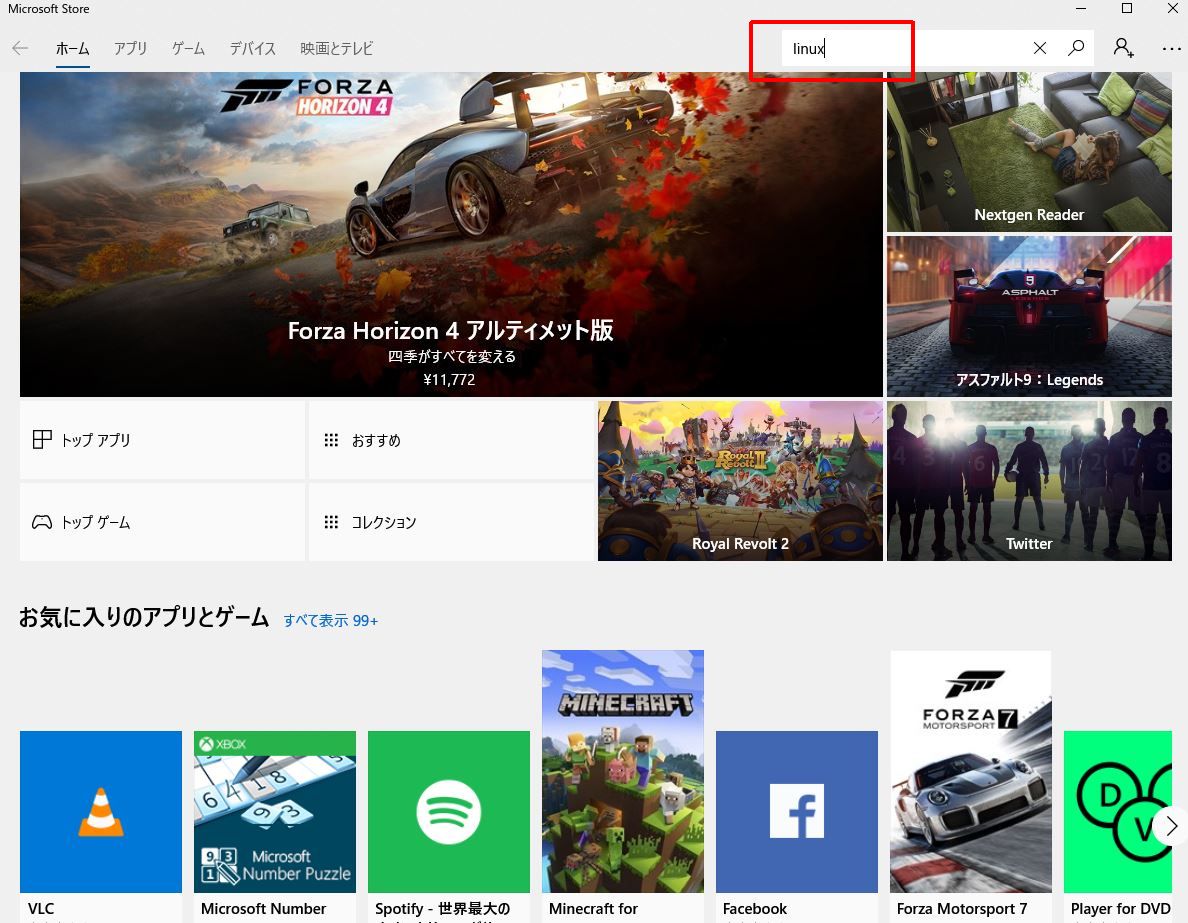
Linux関連アプリが表示されますので、Debian GNU/Linuxを選択して下さい。
表示された画面で「入手」を選択して下さい。
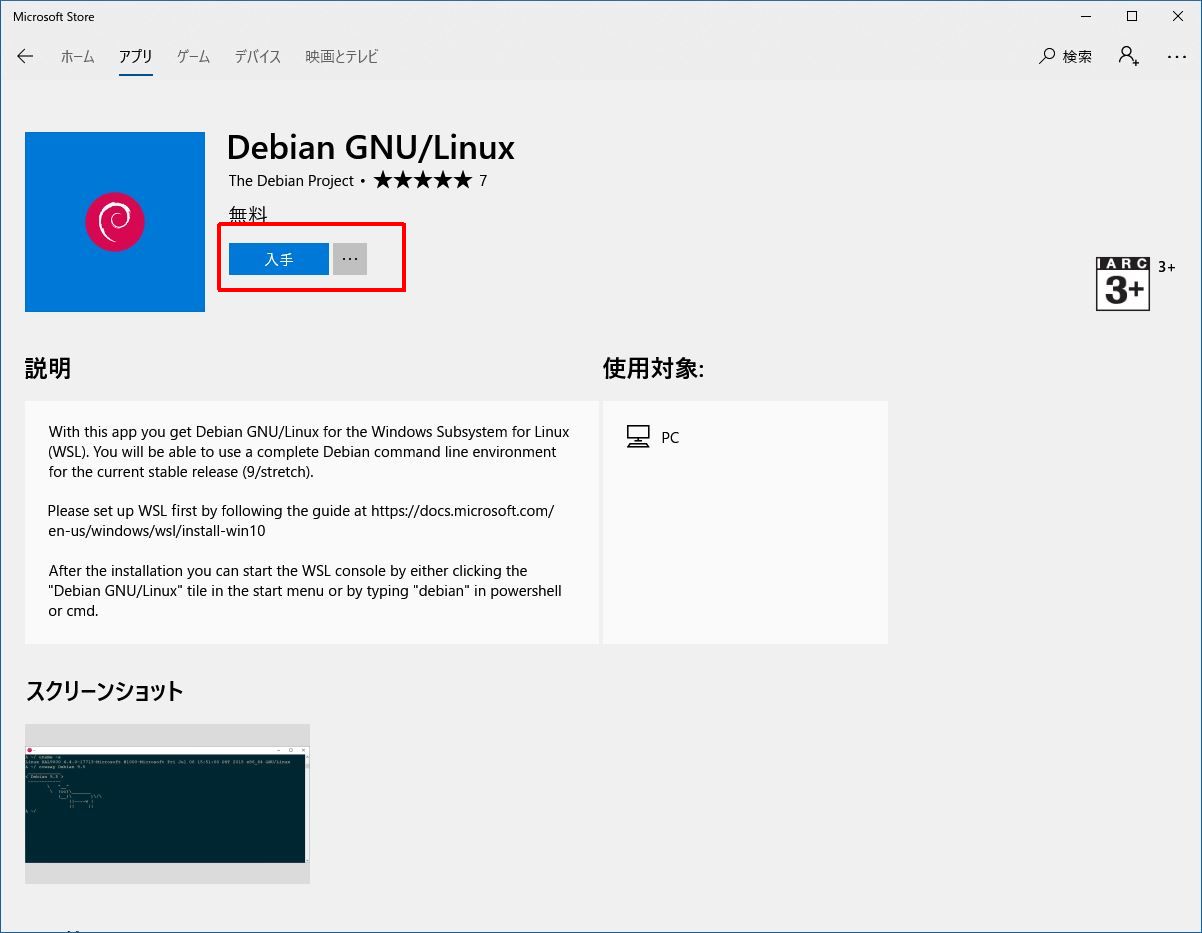
Debian GNU/Linuxのインストールが開始します。
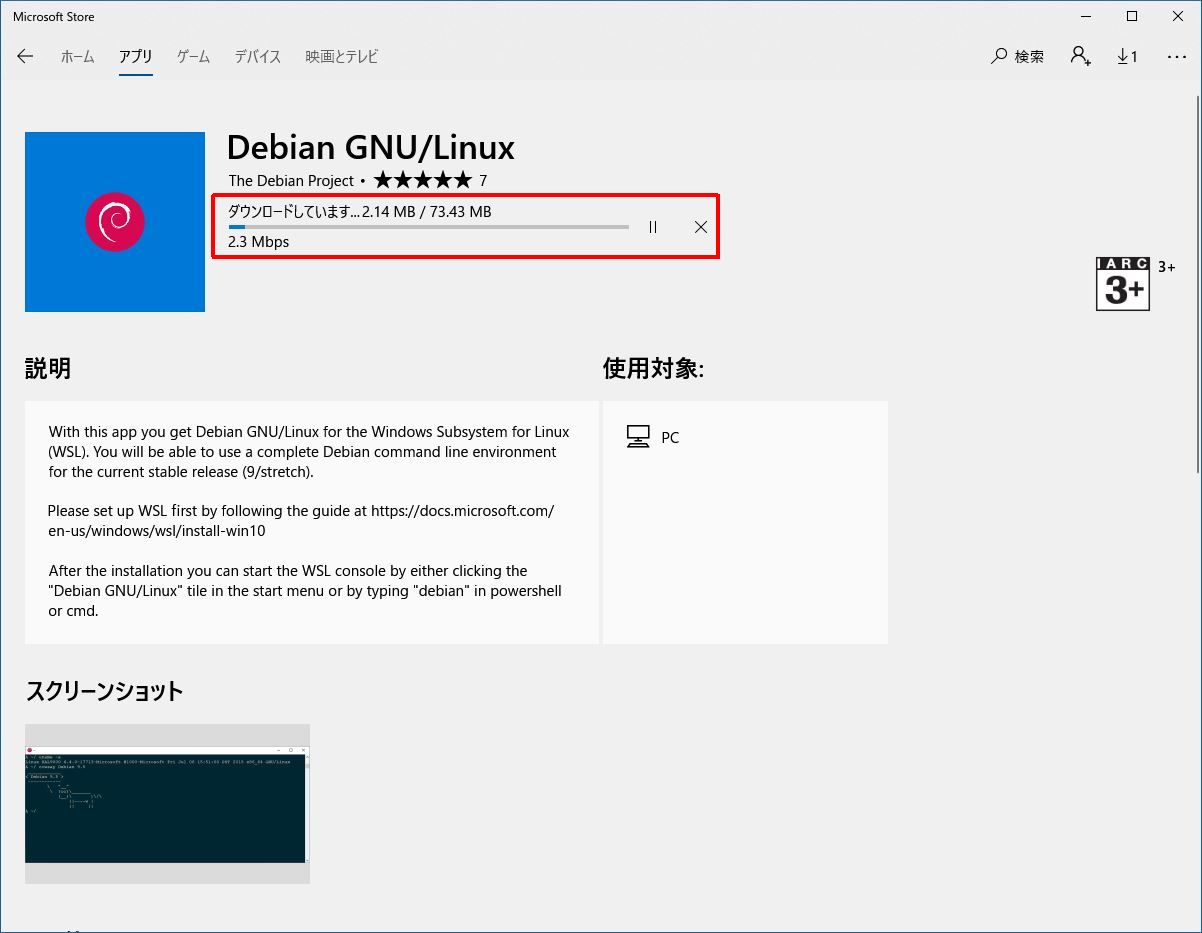
インストールが完了すると「入手」が「起動」に変わります。
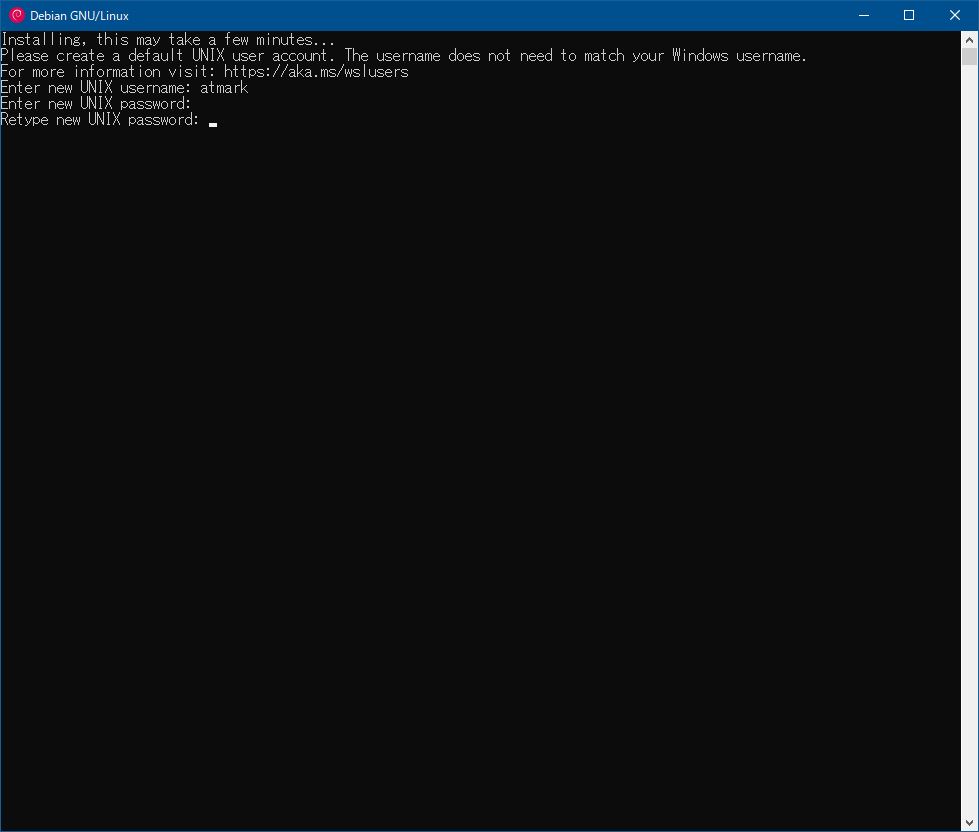
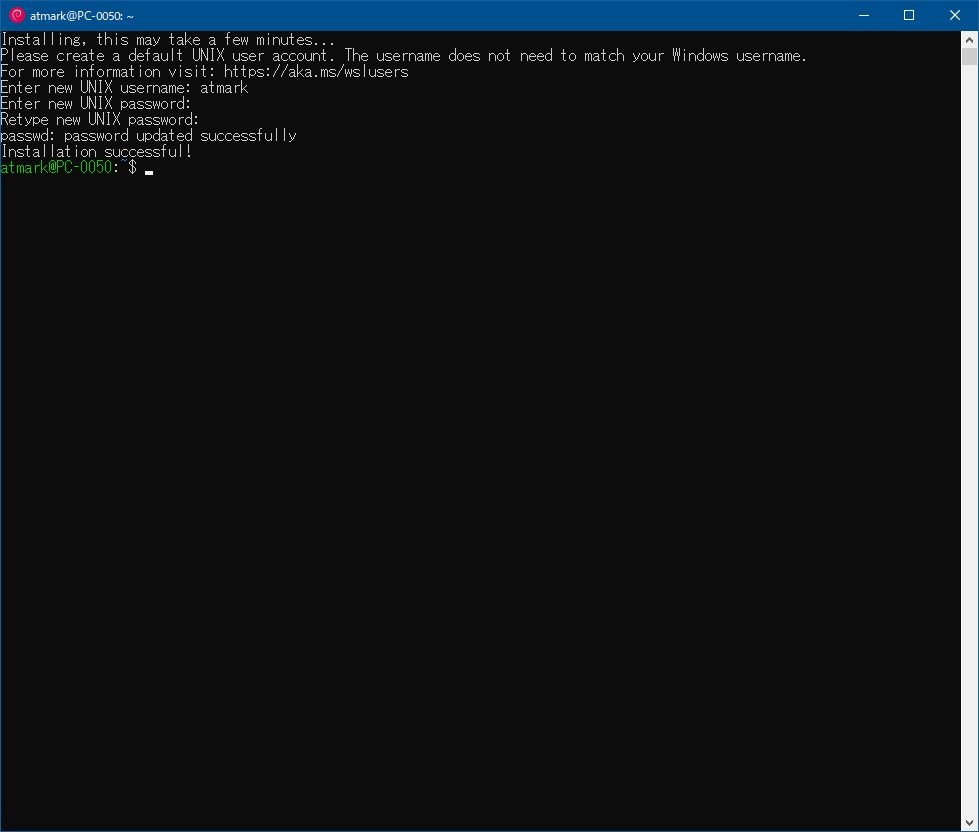
起動ボタンを押すと、Debian GNU/Linuxウィンドウが開きますので、ユーザやパスワードを設定して下さい。
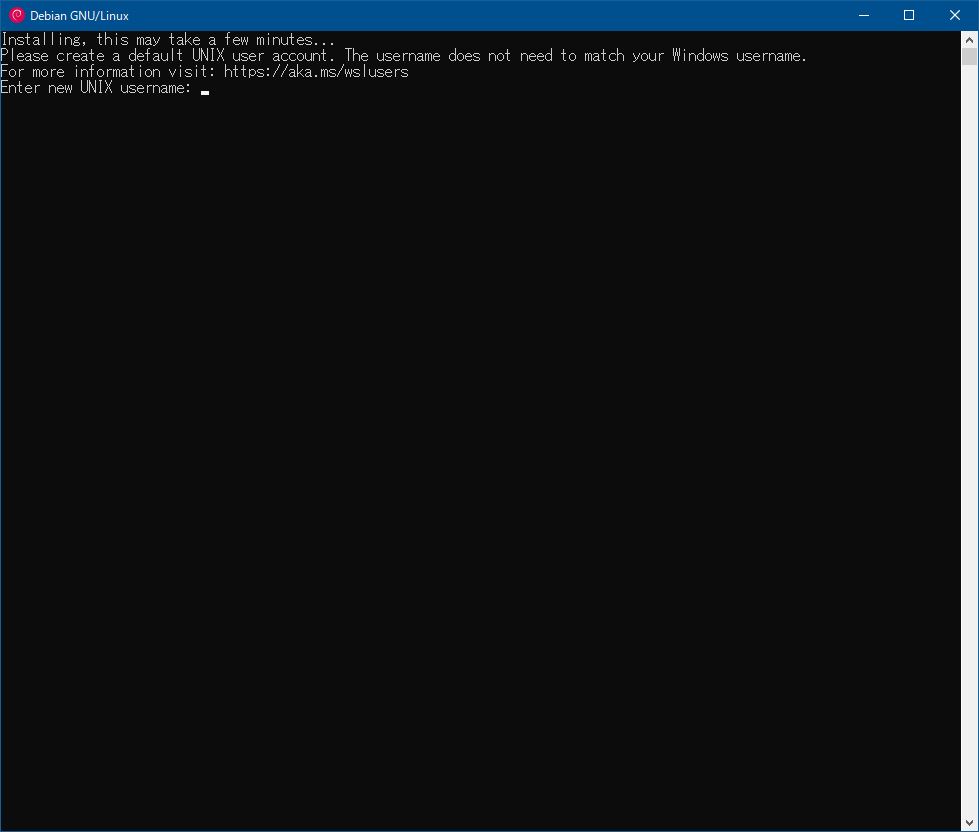
ユーザを作成すると、bashプロンプトが表示されます。
3. クロス開発環境のインストール
インストールしたDebian GNU/Linuxに、以下の手順で開発環境を構築して下さい。
1. Debianパッケージを最新版に更新します。
atmark@PC-0050:~$ sudo apt update
atmark@PC-0050:~$ sudo apt upgrade
2. 標準開発ツール一式をインストールします。
atmark@PC-0050:~$ sudo apt install build-essential ca-certificates
3. apt のソースリストを修正します。
atmark@PC-0050:~$ sudo vi /etc/apt/sources.list
以下のように、"non-free-firmware" を追加してください。
deb http://ftp.jp.debian.org/debian/ bookworm main non-free-firmware

deb http://security.debian.org/debian-security bookworm-security main non-free-firmware

deb http://ftp.jp.debian.org/debian/ bookworm-updates main non-free-firmware
4. Armadillo用ソースリストを作成します。
atmark@PC-0050:~$ sudo vi /etc/apt/sources.list.d/atmark-techno.list
atmark-techno.listには、以下の内容を記述して下さい。
deb http://download.atmark-techno.com/debian/ bookworm main contrib non-free-firmware
deb-src https://download.atmark-techno.com/debian/ bookworm main contrib
5. アットマークテクノが公開しているGPG鍵を取得します。
atmark@PC-0050:~$ cd /etc/apt/trusted.gpg.d
atmark@PC-0050:~$ sudo wget https://download.atmark-techno.com/debian/atmark-debian.gpg
6. Armadillo用ソースリストが正常に作成できたか確認します。何らかのエラーが発生した場合は、手順3と4を再度確認して下さい。
atmark@PC-0050:~$ apt update
atmark@PC-0050:~$ apt upgrade
7. Armadillo用のクロス開発環境一式をインストールします。
atmark@PC-0050:~$ sudo apt-get install x1-essential
8. 開発環境が整ったら適当なプログラムをコンパイルして、Armadilloでの動作を確認して下さい。
例:
// test.c
#include <stdio.h>

int main()
{
        puts("hello");
        return 0;
}
atmark@PC-0050:~/work$ arm-linux-gnueabihf-gcc test.c -o test
atmark@PC-0050:~/work$ file test
test: ELF 32-bit LSB shared object, ARM, EABI5 version 1 (SYSV), dynamically linked, interpreter /lib/ld-linux-armhf.so.3, for GNU/Linux 3.2.0, BuildID[sha1]=75ad5fd9ac369c150d32182db4b8766309a4cfdc, not stripped
コンパイルしたバイナリファイルをArmadilloで実行すると、シリアルコンソールに hello の文字列が表示されます。
root@armadillo:~# ./test
hello
4. ファイル共有に関して
Windows Subsystem for Linuxでは、デフォルトでWindows PCのCドライブが共有されています。
atmark@PC-0050:~$ sudo ls /mnt/c/
Documents and Settings  pagefile.sys  Program Files        $Recycle.Bin               Users      Windows
hiberfil.sys            PerfLogs      Program Files (x86)  swapfile.sys               util       wls_share
Intel                   ProgramData   Recovery             System Volume Information  Visio2016
またUSBメモリやSDカードなどのリムーバルメディアは、以下のコマンドでマウントできます。
mount -t drvfs <device name> <mount point>
例えば、USBメモリがPCのDドライブとして認識されている場合、以下のコマンドを実行することで/mediaにUSBメモリをマウントできます。
atmark@PC-0050:~$ sudo mount -t drvfs d: /media
5. 注意
製品化用のプラットフォームとして推奨するものではありません。
6. 補足: bashプロンプトの文字色
デフォルトでは、ホームディレクトリのディレクト名は、少し見づらい配色になっています。
bashの表示色は、dircolorsコマンドでカスタマイズできます。ここでは、ディレクトリ名の表示色を変更してみます。
まず、色の設定ファイル.dir_colorsを作成します。dircolors -pを実行すると現在の色設定が読み出せますので、これを設定ファイル.dir_colorsとして書き出します。
atmark@PC-0050:~$ dircolors -p > .dircolors
.dir_colorsの内容(一部抜粋)
# Configuration file for dircolors, a utility to help you set the
# LS_COLORS environment variable used by GNU ls with the --color option.
# Copyright (C) 1996-2016 Free Software Foundation, Inc.
# Copying and distribution of this file, with or without modification,
# are permitted provided the copyright notice and this notice are preserved.
# The keywords COLOR, OPTIONS, and EIGHTBIT (honored by the
# slackware version of dircolors) are recognized but ignored.
# Below are TERM entries, which can be a glob patterns, to match
# against the TERM environment variable to determine if it is colorizable.
TERM Eterm
TERM ansi
TERM *color*
TERM con[0-9]*x[0-9]*
TERM cons25
TERM console
TERM cygwin
TERM dtterm
TERM gnome
TERM hurd
次に、以下のパッチを.dircolorsに適用します。
--- dircolorsx  2018-10-17 09:28:46.842392300 +0900
+++ .dircolors  2018-10-04 15:12:33.017736900 +0900
@@ -57,7 +57,7 @@
 SETGID 30;43 # file that is setgid (g+s)
 CAPABILITY 30;41 # file with capability
 STICKY_OTHER_WRITABLE 30;42 # dir that is sticky and other-writable (+t,o+w)
-OTHER_WRITABLE 34;42 # dir that is other-writable (o+w) and not sticky
+OTHER_WRITABLE 94;40 # dir that is other-writable (o+w) and not sticky
 STICKY 37;44 # dir with the sticky bit set (+t) and not other-writable
 # This is for files with execute permission:
 EXEC 01;32
---
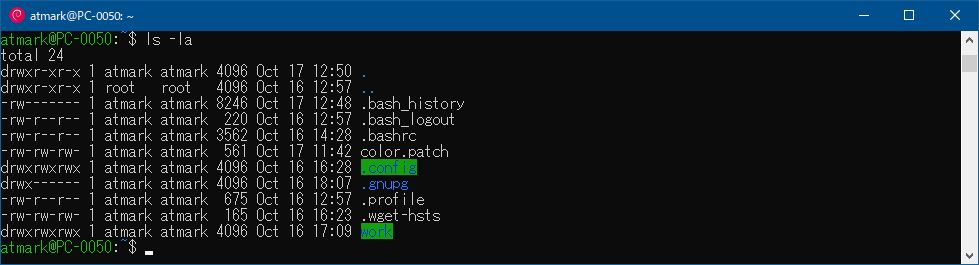
bashかコンソールを立ち上げなおすと、ディレクトリ名がライトブルーで表示され、見やすくなります。
