at_yukari.hara
2020年3月16日 9時53分
Armadillo-640でApache2とNode.jsを使ってTTLシリアルJPEGカメラを遠隔で操作してみました。
環境
・遠隔操作環境:Apache2+Node.js
・カメラ制御:Python3
・ネットワーク:有線LAN
※今回使用したカメラはこちらです。
※手順やコードはこちらを参考させていただきました。
手順
1.カメラの準備
Armadillo-640:TTLシリアルJPEGカメラで撮影した画像を保存するの手順を行い、「camera.py」の画像の保存先を変更してください。
【変更前】
IMAGE_FILE = '/root/image.jpg'
【変更後】
IMAGE_FILE = '/var/www/html/image.jpg'
2.Node.jsの準備
Armadillo-640でNode.jsを使ってみるを参考にNode.jsの動作環境を構築します。
3.Apache2をインストール
以下のコマンドを実行して、Apache2をインストールします。
[armadillo ~]# apt-get install apache2
※http://[ArmadilloのIPアドレス]でApache2のページが表示されていることを確認してください。
4.必要なモジュールのインストール
以下のコマンドを実行して、socket.ioモジュールをインストールします。
[armadillo ~]# cd /var/www/html/
[armadillo ~/var/www/html]# npm install socket.io
5.ブラウザの作成
以下の4つのファイルを「/var/www/html/」以下に置きます。 ①a_camera.html
<!DOCTYPE html>
<html lang="ja">
<head>
    <meta charset="utf-8">
    <title>Armadillo</title>
    <link rel="stylesheet"href="https://maxcdn.bootstrapcdn.com/bootstrap/3.3.5/css/bootstrap.min.css">
    <script src="https://ajax.googleapis.com/ajax/libs/jquery/3.3.1/jquery.min.js"></script>
    <script type="text/javascript" src="/socket.io/socket.io.js"></script>
    <script type="text/javascript" src="./a_camera.js"></script>
    <link href="./a_camera.css" type="text/css" rel="stylesheet">
</head>
<body>
<div class="container">
    <h1>Armadillo</h1>
    <h4>LED</h4>
    <div class="row">
        <button type="button" id="ledOn"  class="col-md-1 btn btn-danger">LED ON</button>
        <button type="button" id="ledOff" class="col-md-1 btn btn-danger">LED OFF</button>
        <button type="button" id="photoOn" class="col-md-1 btn btn-danger">PTHOTO ON</button>
    </div>
        <img src="image.jpg" width="160" height="120">
</div>
</body>
</html>
②a_camera.css
//a_camera.css
@charset "utf-8";

div.container div.row {
    margin-bottom: 20px;
}

button {
    margin: 3px;
}

h4 {
    margin-bottom: 0;
}

div.log p {
    margin: 0;
    padding: 0;
    line-height: 1.2;
}
③a_camera.js
$(function() {
    var socket = io.connect();
    socket.on("s2c_LS_DATA",      function(data){AppendLsLog(data.value)});

    $("form").submit(function(e){
        console.log("submit");
        var message = $("#msgForm").val();
        $("#msgForm").val('');
        socket.emit("client_to_server", {value : message});
        e.preventDefault();
    });

    $("button#ledOn").on('click', function() {
        console.log("LED ON");
        socket.emit("c2s_LED_ON", null);
    });

    $("button#ledOff").on('click', function() {
        console.log("LED OFF");
        socket.emit("c2s_LED_OFF", null);
    });

        $("button#photoOn").on('click', function() {
                console.log("pthoto start");
                socket.emit("c2s_PTHOTO_ON", null);
        setTimeout(function () {
            location.reload();
        }, 7000);
    });

});


function AppendLsLog(text) {
    console.log(text);
    $("#lightSensorLogs").append("<p>" + text + "</p>");
}
④node_a_camera.js
var http     = require('http');
var socketio = require('socket.io');
var path     = require('path');
var fs       = require('fs');
var mime     = {
    ".html": "text/html",
    ".js"  : "application/javascript",
    ".css" : "text/css",
};

var server = http.createServer(function(req, res) {
    if (req.url == '/') {
        filePath = '/pimouse.html';
    } else {
        filePath = req.url;
    }

    var fullPath = __dirname + filePath;
    console.log('fullPath : ' + fullPath);

    res.writeHead(200, {"Content-Type": mime[path.extname(fullPath)] || "text/plain"});
    fs.readFile(fullPath, function(err, data) {
        if (err) {
        } else {
            res.end(data, 'UTF-8');
        }
    });
}).listen(3000);
console.log('Server running at http://localhost:3000/');


var io = socketio.listen(server);

io.sockets.on('connection', function(socket) {

    var timer_lt = {
        id : null,
        is_on : 0,
    }

    socket.on('client_to_server', function(data) {
        io.sockets.emit('server_to_client', {value : data.value});
    });

    socket.on('c2s_LED_ON', function(data) {
        OnLed();
    });

    socket.on('c2s_LED_OFF', function(data) {
        OffLed();
    });

        socket.on('c2s_PTHOTO_ON', function(data) {
                Onphoto();
        });

    socket.on('disconnect', function() {
        if (timer_lt.is_on == 1) {
            clearInterval(timer_lt.id);
        }
        OffLed();
    });

});


// LED ON
function OnLed() {
    // shell実行(非同期)
    // http://tkybpp.hatenablog.com/entry/2016/04/25/163246
    const exec = require('child_process').exec;
    exec('echo 1 > /sys/class/leds/red/brightness', (err, stdout, stderr) => {
    });
    console.log("LED ON");
}


// LED OFF
function OffLed() {
    const exec = require('child_process').exec;
    exec('echo 0 > /sys/class/leds/red/brightness', (err, stdout, stderr) => {
    });
    console.log("LED OFF");
}

// PHOTO ON
function Onphoto() {
        const exec = require('child_process').exec;
        exec('python3 /root/camera.py', (err, stdout, stderr) => {
        });
        console.log("PHOTO ON");
}
6.確認
以下のコマンドで実行します。
[armadillo ~/var/www/html]# node node_a640.js
以下のURLにアクセスをします。
http://[ArmadilloのIPアドレス]:3000
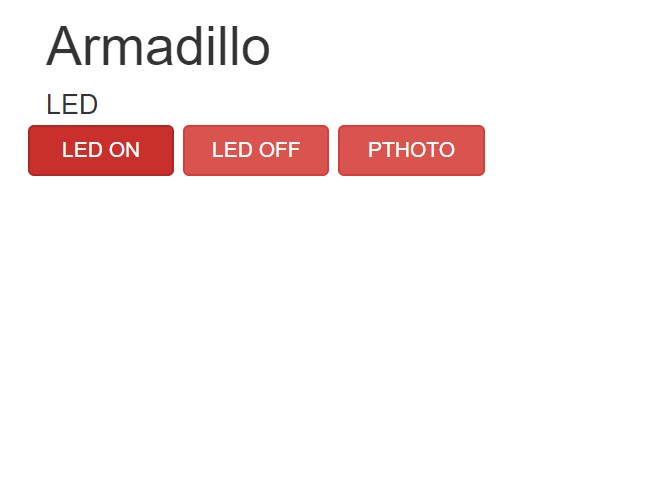
このような画面が表示されます。

LEDのON/OFFをクリックするとArmadilloのLEDに反映されます。
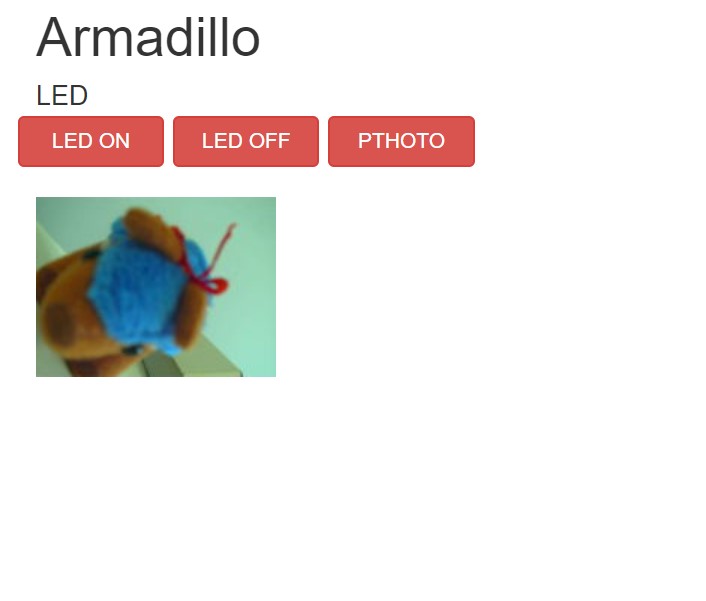
PHOTOをクリックするとカメラで撮影した画像が表示されます。
